How to Whitewash Nexus Software: Complete 2026 Guide for Secure & Scalable Cleanup
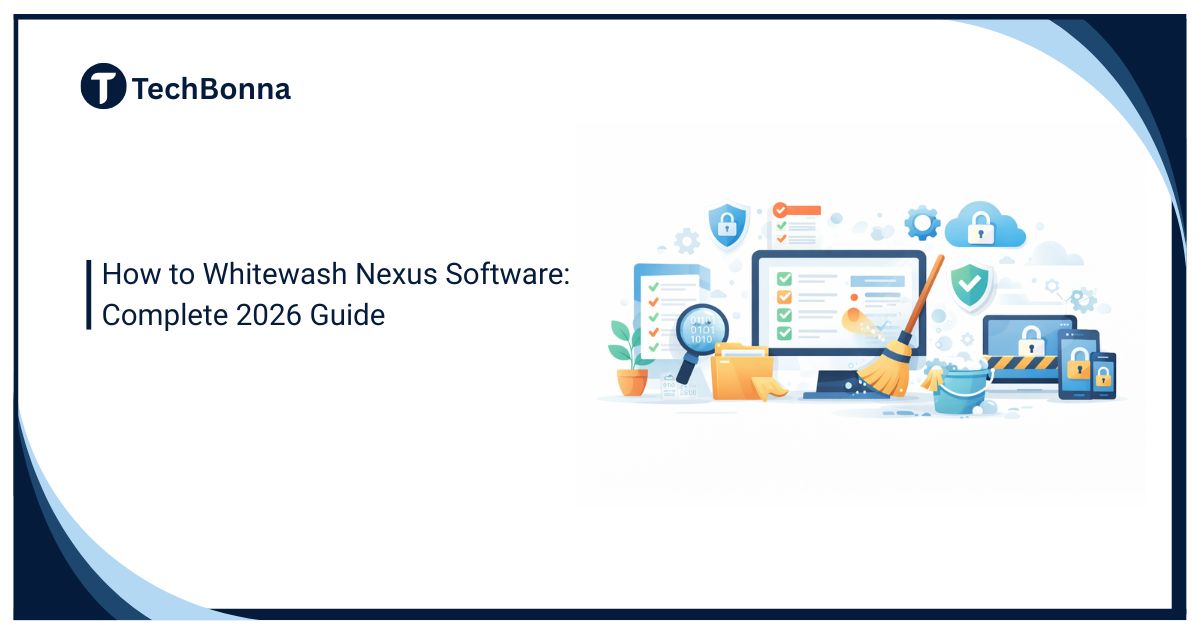
Table of Contents
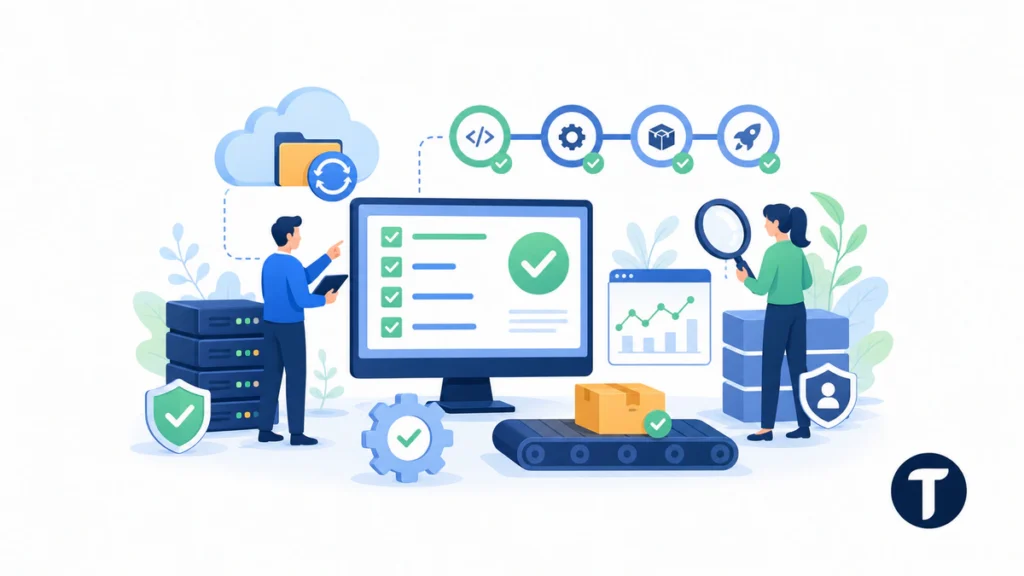
Introduction
The phrase whitewash Nexus software can be confusing. In a safe software operations context, it should not mean hiding problems, disguising insecure systems, or covering up technical debt. It should mean legitimate cleanup, secure rebranding, migration planning, and documentation of changes.
This updated guide keeps the exact title, but rebuilds the article around a responsible workflow for Nexus software cleanup. The focus is secure migration, repository hygiene, access review, backups, and change control.
Quick Answer
To whitewash Nexus software safely, treat the task as a controlled Nexus Repository cleanup or migration project. Inventory the current instance, back up configuration and repositories, remove unused assets, review users and permissions, document rebranding changes, test migration steps, and keep audit records for every change.
The goal is not to hide risk. The goal is to make the Nexus environment cleaner, safer, easier to maintain, and easier for teams to understand.
What Nexus Software Usually Means
In many technical teams, Nexus software refers to Sonatype Nexus Repository or a related artifact repository workflow. It may store build artifacts, packages, dependencies, Docker images, Maven artifacts, npm packages, or other components used by development and release teams.
Because repository systems sit close to the software supply chain, cleanup must be careful. A careless change can break builds, remove needed artifacts, weaken security, or expose packages that should remain private.
The Sonatype Nexus Repository documentation is the best starting point for understanding product-specific concepts, administration, repository management, and supported configuration paths.
Step One: Define the Legitimate Task
Before changing anything, define what the team actually means by whitewash. If the goal is branding, call it rebranding. If the goal is removing stale repositories, call it cleanup. If the goal is moving to a new server, call it migration. If the goal is tightening access, call it security hardening.
Precise language protects the project. It helps security teams, developers, managers, and auditors understand why changes are being made and what evidence will prove that the result is safe.
- Rebranding changes logos, names, documentation, and user-facing labels.
- Cleanup removes obsolete repositories, duplicate assets, stale accounts, and unused configuration.
- Migration moves data and settings between supported environments.
- Security hardening reviews permissions, secrets, repository exposure, and update status.
- Data sanitization removes sensitive or unnecessary data with documented approval.
Step Two: Inventory the Current Nexus Environment
A cleanup project should start with an inventory. List repositories, repository formats, storage locations, proxy settings, hosted repositories, groups, users, roles, credentials, integrations, scheduled tasks, retention policies, and build systems that depend on Nexus.
Do not rely on memory. Developers may have old CI pipelines, deployment scripts, local configuration files, or package managers that still point to a repository that looks unused. Removing it without checking can break releases.
The inventory should also record version numbers, plugins, license details, backup locations, storage usage, and known incidents. This gives the team a baseline before any cleanup or rebranding begins.
Step Three: Back Up Before Changing Anything
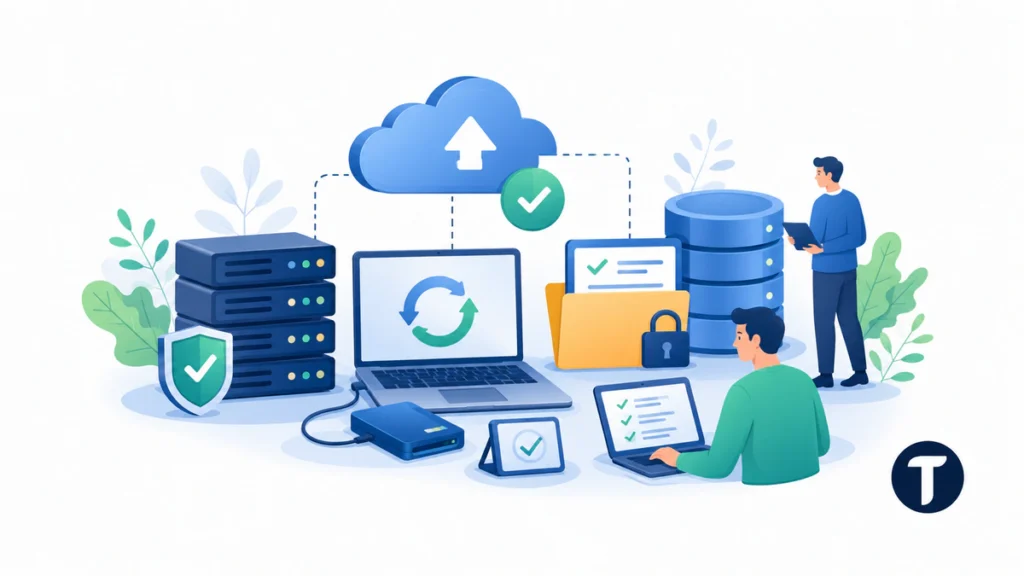
A Nexus software cleanup should not begin until backups are confirmed. The team should know what is backed up, how often it is backed up, where the backup is stored, who can restore it, and whether a restore test has actually worked.
Backups should include the data needed to recover repositories, configuration, security settings, and operational documentation. If the organization uses infrastructure-as-code or deployment automation, capture those files too.
A backup that has never been restored is only an assumption. Schedule a restore test in a safe environment before deleting repositories or changing key settings.
Step Four: Clean Repositories Safely
Repository cleanup should follow policy, not guesswork. Start by identifying unused repositories, outdated package versions, abandoned snapshots, duplicate artifacts, and storage-heavy areas. Then confirm whether any builds still depend on them.
Retention rules can help, but they need review. A team may want to keep release artifacts longer than snapshots. Compliance or customer commitments may require older versions to remain available. Security teams may want vulnerable packages blocked while still keeping evidence for investigation.
Document each deletion or retention decision. The record should include the repository, reason, approver, date, expected impact, and rollback plan.
Step Five: Review Access and Credentials
Access review is one of the most important parts of Nexus software hardening. Repository systems may contain private packages, internal build artifacts, credentials, or release assets. Users should have only the permissions they need.
Check local users, groups, roles, tokens, CI credentials, service accounts, anonymous access, and integration secrets. Remove stale accounts and rotate credentials when ownership is unclear.
For CI/CD systems, update secrets carefully. A rushed token change can stop deployments. Plan a staged rotation, verify each pipeline, and record which systems were updated.
Step Six: Handle Rebranding Transparently
If the project includes rebranding, keep it transparent. Update approved logos, theme elements, documentation, portals, and internal references only where licensing and product support allow it.
Do not change branding to mislead users about the underlying platform. It is acceptable to make internal tools feel consistent with company standards, but documentation should still say what technology is being used when that matters for support, security, licensing, or audit work.
Rebranding should never be used to hide unsupported software, outdated versions, or unresolved vulnerabilities. Fix the operational risk first, then improve the interface.
Step Seven: Test Migration and Cleanup Results
After cleanup or migration, run a practical test plan. Confirm that developers can authenticate, build systems can fetch packages, release pipelines can publish artifacts, proxy repositories work, permissions are correct, and monitoring still detects failures.
Also test rollback. If a repository group was changed, a permission removed, or a proxy adjusted, the team should know how to recover quickly if a production build fails.
A strong closeout includes screenshots or logs of successful builds, repository access checks, backup verification, and stakeholder approval.
For teams reviewing wider technology operations, TechBonna also explains how technology helps businesses improve operational efficiency through cleaner systems, better workflows, and measurable controls.
Frequently Asked Questions
What Does Whitewash Nexus Software Mean Safely?
In a responsible context, it should mean legitimate cleanup, rebranding, migration, or security hardening. It should not mean hiding technical problems, disguising ownership, or covering up insecure software.
Should Teams Rename the Project?
Teams can use clearer internal language such as Nexus Repository cleanup, secure migration, or repository hardening. Clear names reduce confusion and make approvals easier.
What Should Be Backed Up First?
Back up configuration, repository data, security settings, documentation, CI/CD references, and any supporting infrastructure files needed to restore the service.
What Is the Biggest Risk?
The biggest risk is breaking builds or weakening supply-chain security by deleting data, changing permissions, or rotating credentials without confirming dependencies first.
Cleanup Policies and Repository Tasks
Nexus Repository cleanup should use cleanup policies, repository cleanup tasks, and compact blob store tasks carefully. A cleanup policy can target old artifacts, snapshots, unused components, last downloaded dates, or format-specific repository types, but every criterion should be reviewed before deletion. Preview results where possible before a hard delete.
The team should understand hosted repositories, proxy repositories, Maven repository use, Docker images, blob store storage, disk space, metadata, repository manager settings, and deployment dependencies before removing components. A cleanup service task can reclaim storage, but the wrong policy can remove packages that a build still needs.
Documentation and Change Control
Documentation turns a Nexus software cleanup from a risky maintenance job into a controlled project. Record the starting state, planned changes, approvals, testing evidence, rollback steps, and final state. Keep the documentation somewhere the platform, security, and development teams can all access.
Change control should include maintenance windows, stakeholder notices, build-pipeline owners, and a freeze period for major cleanup work. If the repository supports production releases, do not make large changes immediately before a release unless the change fixes a serious security issue.
After the work is complete, update runbooks and onboarding notes. Developers need to know which repositories are active, how to request access, where artifacts should be published, and who owns support. Clear documentation prevents the same repository sprawl from returning.
What Not to Do During Nexus Cleanup
Do not delete repositories because they look old without checking build history. Do not remove users before confirming service accounts. Do not rename endpoints without updating CI/CD pipelines. Do not rely on screenshots as the only backup. Do not rebrand the interface in a way that hides the product from administrators or auditors.
Most importantly, do not use cleanup language to avoid fixing vulnerabilities. If the system is outdated, exposed, or poorly controlled, document the risk and fix it directly. A cleaner interface cannot replace patching, access control, monitoring, and tested recovery.
A responsible closeout should leave the environment easier to explain than it was before. The team should know what changed, why it changed, who approved it, what tests passed, and what still needs attention after the cleanup window, including owners, dates, and follow-up review points.
Final Thoughts
How to Whitewash Nexus Software: Complete 2026 Guide for Secure & Scalable Cleanup is safest when treated as a secure cleanup and migration guide. The right process is transparent, documented, backed up, tested, and focused on making the Nexus environment easier to operate without hiding risk.